3D Fracture
Fracture with Element Deletion and Damage Softening
To implement fracture, only a few settings are required. The first setting that is required is the critical damage value for Fracture. This is specified within the material properties window ![]() Advanced tab (See Fig. 3DFRCL1.1.). Within this window the damage criteria can be specified. By clicking the
Advanced tab (See Fig. 3DFRCL1.1.). Within this window the damage criteria can be specified. By clicking the ![]() button next to the criteria, a critical value can be input to the system (See Fig. 3DFRCL1.2.). The critical value to use is very dependent on the material being used, the processing methods to produce the material, deformation history, etc. The recommended way in which to use the critical value is to either determine the absolute critical value for fracture based on a known process or to reduce the damage value of a given simulated process.
button next to the criteria, a critical value can be input to the system (See Fig. 3DFRCL1.2.). The critical value to use is very dependent on the material being used, the processing methods to produce the material, deformation history, etc. The recommended way in which to use the critical value is to either determine the absolute critical value for fracture based on a known process or to reduce the damage value of a given simulated process.

The advanced material window
To implement only a critical damage value will enable damage softening. Damage softening is a method by which the flow stress of an element above this critical value will by reduced to a very low value. The advantage of this approach above element deletion is that the topology of part is maintained and is simple thus producing a good-looking result. To enable element deletion proceed to the Object Properties and select the Fracture element deletion option under Fracture Properties. (See Fig. 3DFRCL1.3.)
Comparison of two methods:
The two methods for simulating fracture are compared in the following example. The example case is a gear piercing as seen in Fig. 3DFRCL1.4., Fig. 3DFRCL1.5., Fig. 3DFRCL1.6 and Fig. 3DFRCL1.7. show the results of using both damage softening and element deletion.
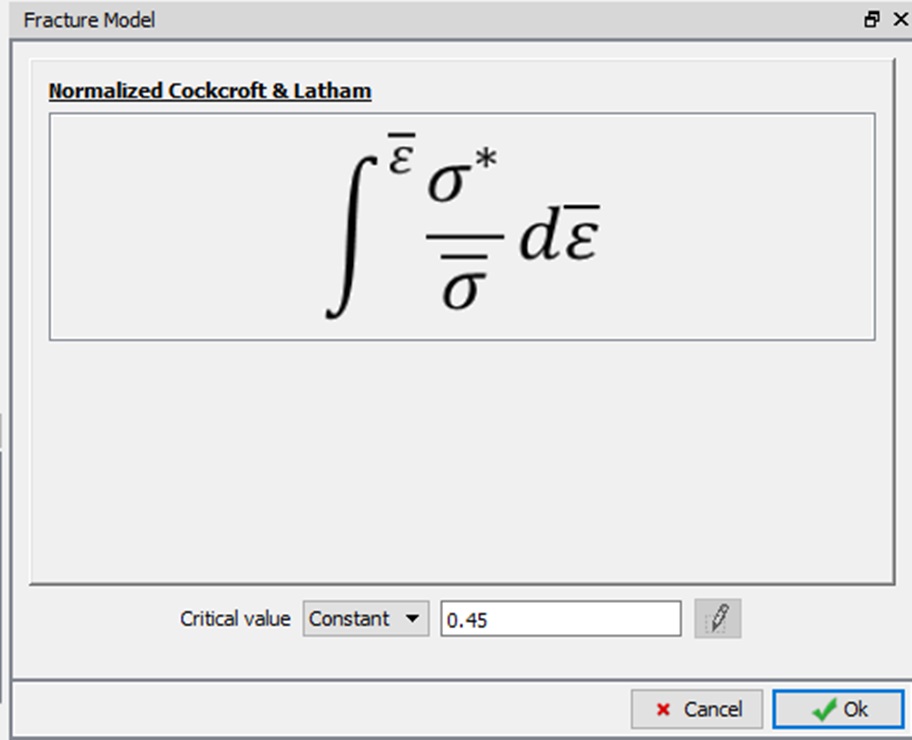
The critical value for fracture
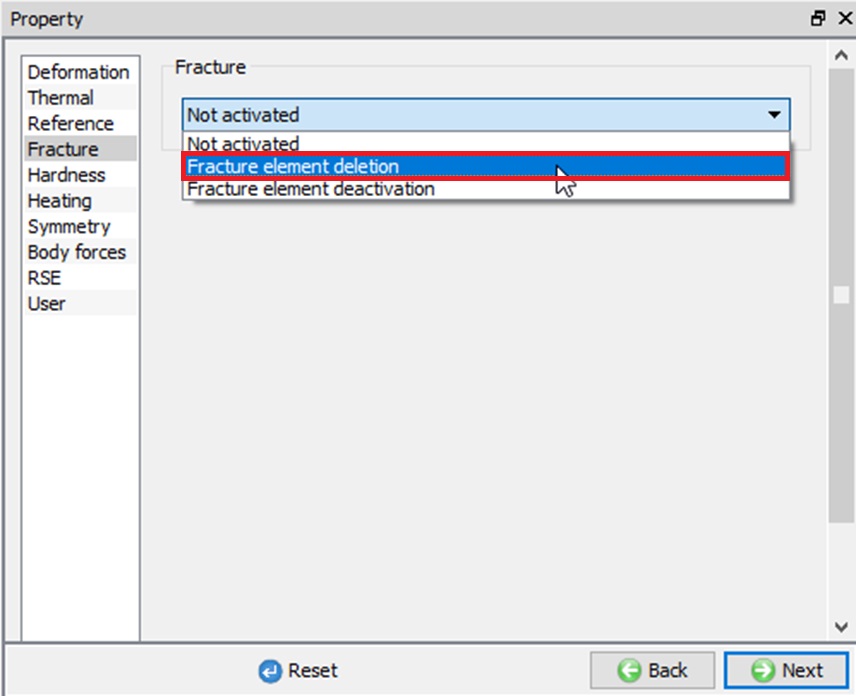
Fracture settings window
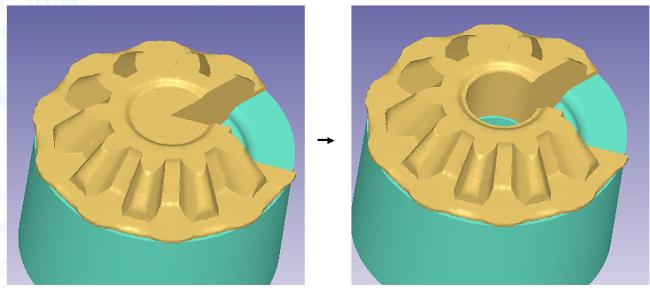
Gear piercing case that is a good candidate for fracture study
Beginning and near ending step of gear piercing with element deletion
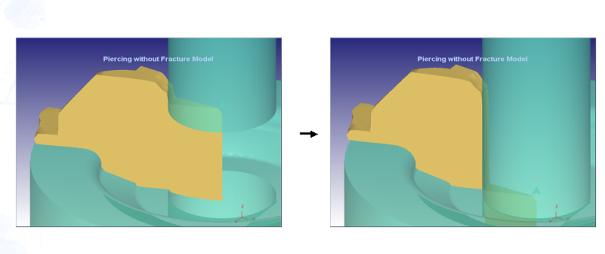
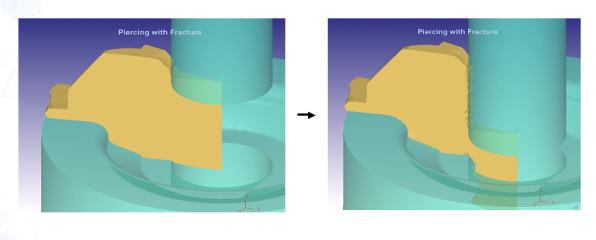
Beginning and near ending step of gear piercing with damage softening
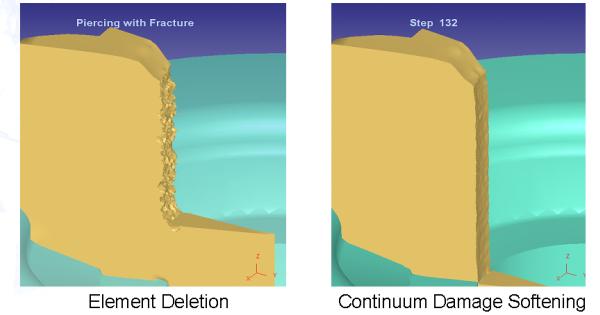
Side-by-side comparison of piercing operations with element deletion and damage softening